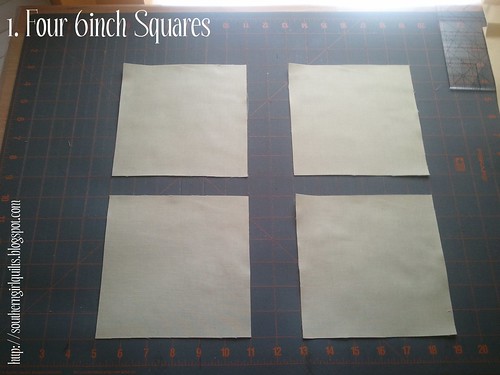
1. 4 - Six-Inch Squares
This should be your background fabric.
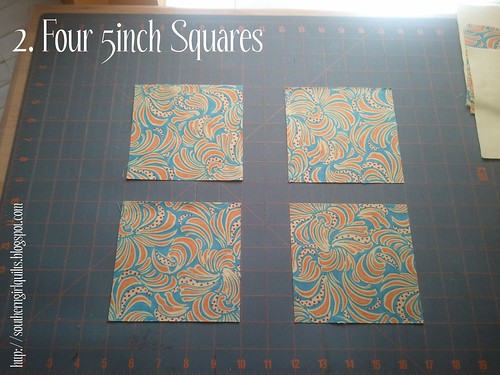
2. 4 - Five-Inch Squares
This is your pinwheel fabric
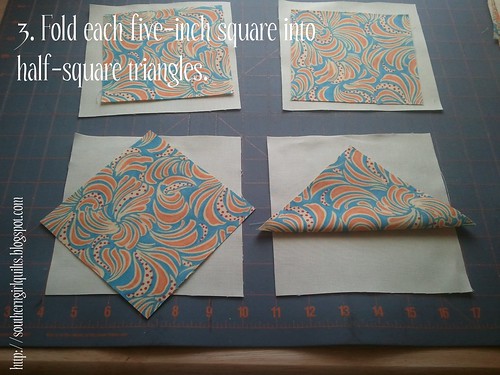
3. Fold the five-inch square across the diagonal. You will form a half-square triangle
I have an aversion to pressing so I choose not to press with this fold; however, that being said, the first time you make the block yourself it does help.
4. Fold each half-square triangle as pictured below
With this fold, it will make your life easier if you press this fold into place.
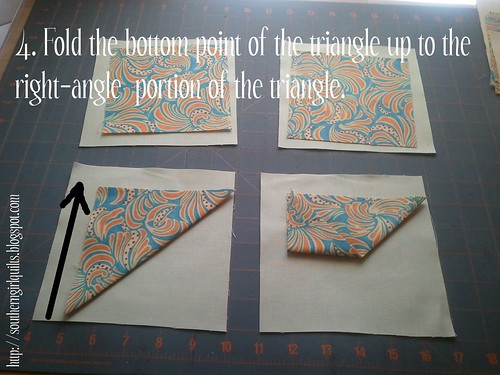
Detail
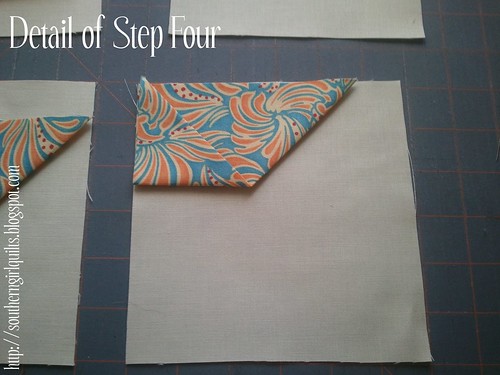
5. Pin the last fold you made in place
You must pin; even if you are like me and hate to pin.

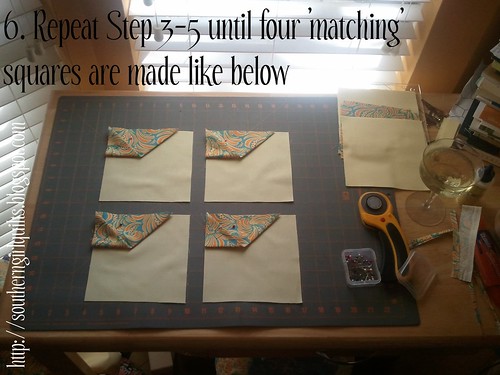
6. Repeat Step 3-5 until you have five 'matching' squares.
Note: The champagne isn't required; except when you try to work with my art director underfoot and terribly unhelpful.
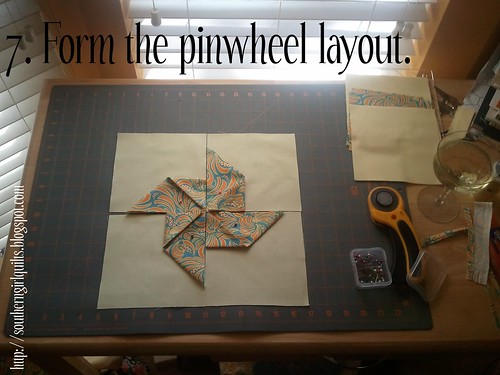
7. Form the pinwheel layout.
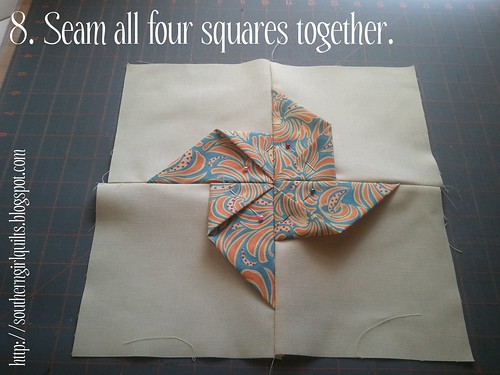
8. Seam together all four squares.
There is a lot of fabric when you seam the four squares together. I typically press open the first set of seams and press to the side on the second set of seams. The pins stay in during this step.
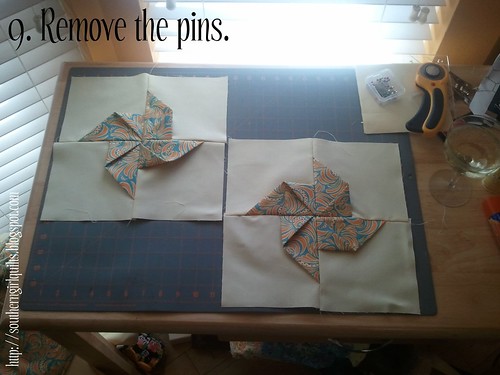
9. Remove the pins
10. The fun part
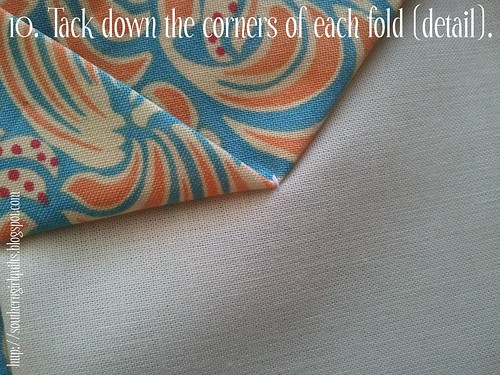
You will -at the very least- tack down the corners of each pinwheel.
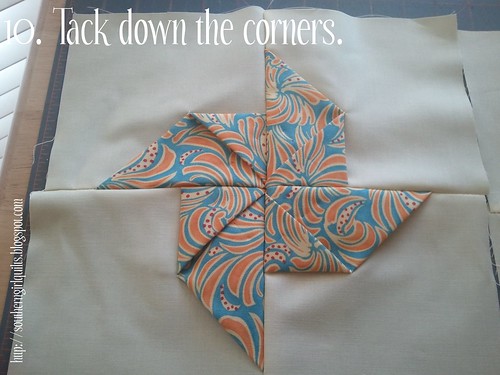
Detail of Step 10
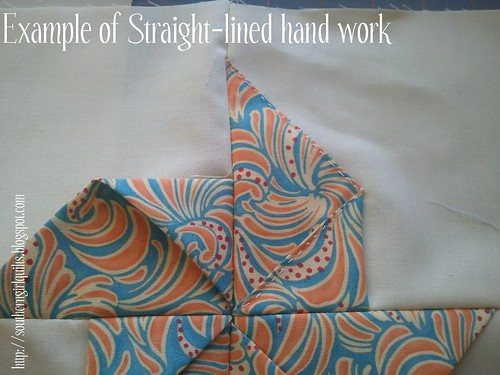
Or you can hand-sew the edges down (straight line)...
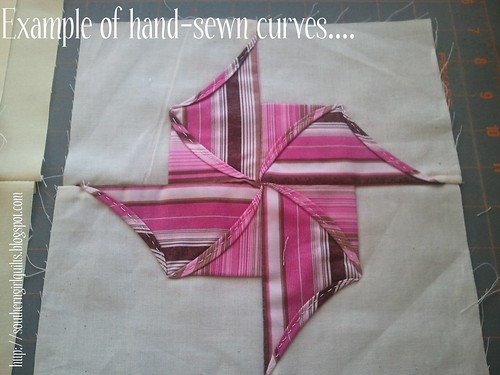
Or you can hand-sew curves --like I did in this project....
Очень интересно,нужно попробовать.
ReplyDeleteSo neat! Thanks for the tutorial, I'm putting this on my to-do list. Can't wait for the pattern!
ReplyDeleteWow, very cool! I will definitely be trying this.
ReplyDeleteCiao!
ReplyDeleteBellissimo blocco!!
Il tutorial è chiarissimo!...grazie molte!
Ti ho trovata attraverso il blog Quiltstory!
Complimenti!
Loryan.
i know this was ages ago, but i wanted to share the quilt that i made using your tutorial - http://craftydame.blogspot.com/2011/08/i-did-it-i-finally-finished-one-of-my.html
ReplyDeletei used much larger blocks, but otherwise i followed the instructions to the letter. thanks so much for sharing!